How To: Remove Grass for a Garden Bed and Add Mulch (Easy Method)
While most people are binging Netflix and HBO Max in the evenings, I’m watching gardening how-to content on YouTube.
(Sometimes my husband and I watch Psych, Bridgerton, or carpentry videos. But TBH it’s mostly gardening for me these days!)
They say dress for the job you want, hang out with the people you aspire to be like, yadda yadda.
So I’m thinking that “watch the content that teaches you to do the things that you want to do” is a natural progression of that. Duh!
Lately I’ve been learning how to remove grass for a garden bed and add a layer of mulch before planting.
Learning Through Imperfect Action
I’ve prepped a site this way before, but my early efforts turned out kinda messy and uneven. I’m giving myself grace for that, because done is better than perfect and – something I learned from watching Moana 2 with my daughter recently – life is failing, then learning, then death.
Happy to be in the failing/learning phases, for now! 🤣
What You’ll Learn in This Post
I’m going to show you exactly how I removed grass, created a clean edge, and mulched around a baby elm tree in my front yard – without fancy tools.
You’ll walk away knowing how to:
- Remove sod in manageable chunks (without wrecking your back)
- Create a tidy, intentional-looking garden bed
- Add mulch in a way that actually prevents weeds
- Turn any patch of lawn into a plant-ready space
- Reuse sod to patch or enrich your yard
Want help planning your own native garden – without second-guessing every step?
I offer personalized, in-person yard consultations for homeowners within ~15-20 miles of Ewing, NJ to help you prep your space, choose plants, and move forward with confidence.
👉 Book your consultation: https://thesanitygarden.com/native-garden-consult/
Table of Contents
Why Remove Grass Before Planting?
Removing grass gives you bare soil, which plants need in order to sprout and grow. It also sets you up for long-term weed management, instead of constantly fighting grass that wants to grow back.
If you’re starting to realize your yard needs a bigger reset than expected, you’re not alone.
This is exactly where most people get stuck.
👉 If you want a clear, personalized plan for your space, you can book a consult here: https://thesanitygarden.com/native-garden-consult/
The Simple Approach to Native Garden Beds
I watched this video by Hooked and Rooted and I love how straightforward and accessible their method is for making tidy-looking garden beds.
Why Tidiness Actually Matters
“Tidy” is important when we’re native gardening because we want our spouses, neighbors, in-laws, and even township code enforcement to immediately sense intention and thoughtfulness.
We don’t wanna be too tidy, though. I promote sanity, not perfection. Our aesthetic is wild-tidy. 😉
Tools You Need (Hint: Keep It Simple)
I rushed to my local hardware store to buy the edging tool that is featured in the video but it was out of stock. Which sounds like bad news, but it’s actually good news.
You Don’t Need Fancy Tools
➡️ Specialized tools are not a barrier to entry for this project! Hooray, cost-cutting! 🎉
I used:
- a square spade
- a trenching shovel (aka drain spade)
Whatever your sharpest shovel is, use that for this project.
Feeling motivated to try this yourself?
I put together a simple guide to help you plan, prep, and plant your first native garden – without overthinking it.
👉 Grab it here: https://thesanitygarden.kit.com/906e00ab8a
Real Talk: This Is Physical Work
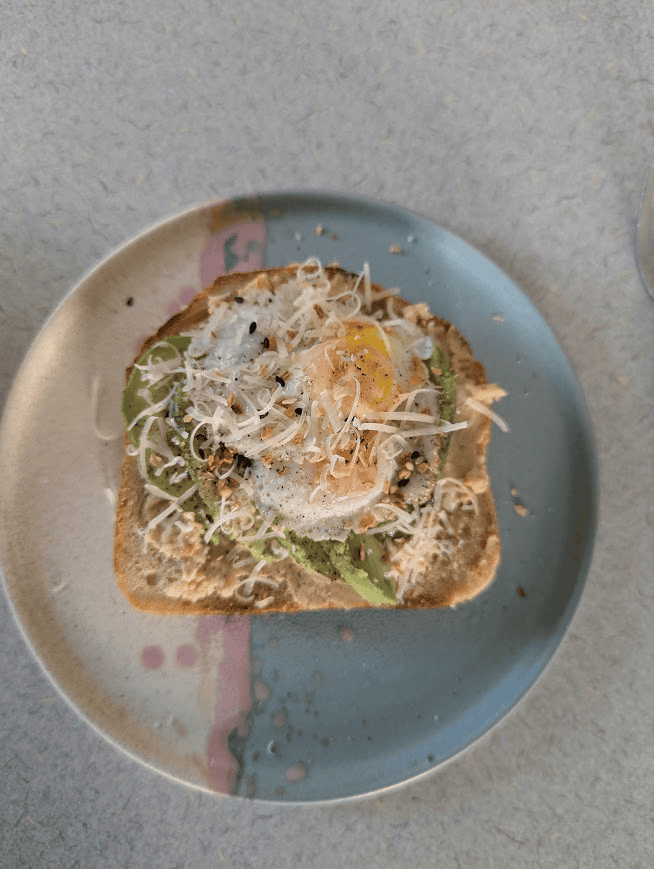
I’ll be upfront with you: it was hard work. Jumping on, kicking, and lifting a shovel repeatedly is exhausting. I was sweaty and hungry AF.
So I made myself this really awesome second breakfast when I wrapped up. 😄
Alright, thanks for humoring me. Back to the project.
Project Overview: Expanding a Baby Elm Tree Bed
Objective
I have an American Elm tree sapling in my front yard. I placed some wood chips around it last fall without removing the grass first, and weeds are now growing through the chips.
I want to:
- clean up the look
- expand the bed
- create a native pocket garden around the tree
Scope
Remove grass -> Add mulch
Step-by-Step: How To Remove Grass for a Garden Bed
Step 1: Create a Clean Circle With the String Method
First, I found some kitchen twine and – just like in the video – I loosely tied it around the base of the elm tree. Then I rolled it out and cut it to size. I tied the other end to my trenching shovel.
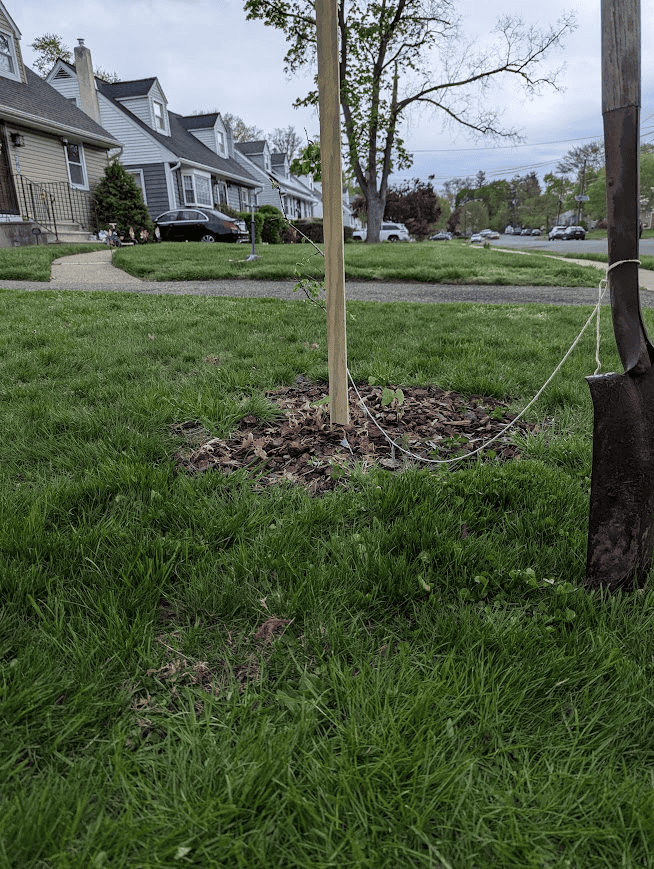
I really appreciate the string method. My bed came out way more even than when I tried to freehand.
Step 2: Slice the Perimeter
Next, I stomped and jumped on the trenching shovel in a circle, keeping slight tension on the string.
Important:
You’re not digging anything yet, just slicing a clean edge.
Step 3: Divide the Sod Into Sections
Next, I sliced the circle into manageable chunks by making cuts perpendicular to the edge. (See the image below for a visual).
I also sliced the inner circle (not mentioned in the video), which made removal easier.

Step 4: Make Your Edges Visible (Optional but Helpful)
Useful observation: It was hard to see my circle in the grass after I made my cuts. I did a little brainstorming as I worked.
In the future, I might use:
- stakes or sturdy twigs
- a garden hose
- spray paint
Anything to make the digging line more visible.
Step 5: Dig and Remove the Grass
After slicing, it’s time to start digging.
This is the most labor-intensive part – but also the most satisfying.
Spare your back by:
- hinging at your hips
- lifting with your legs
A Little Wildlife Motivation 🦅
At some point a red-tailed hawk came to spectate.
She helped me channel some fierce inner hawk energy to push through the last quarter of the digging.
Can you spot her?

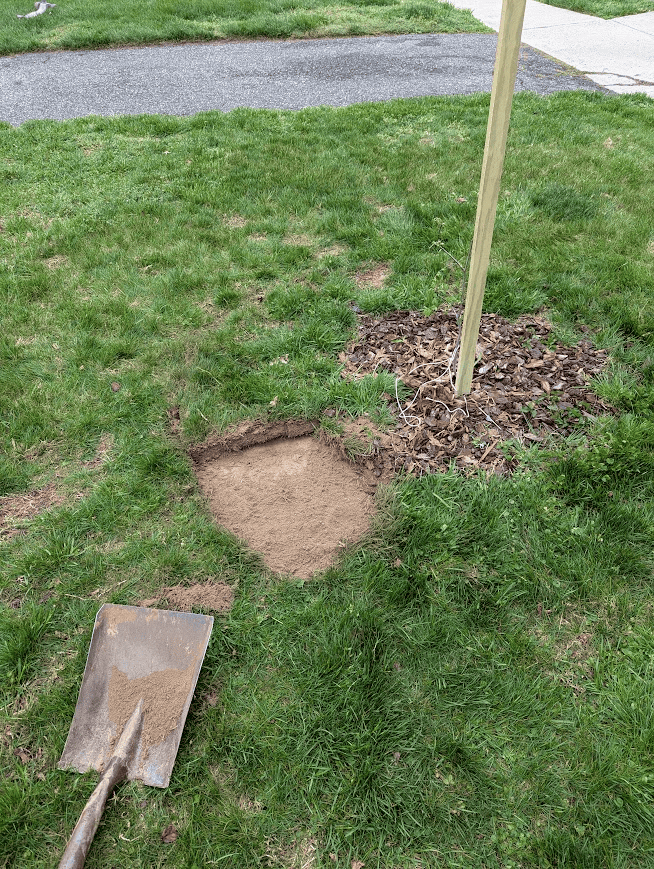
The Finished Bed (Before and After Mulch)
And there’s my tidy-ish little circle, complete!
(Except for the mulch.)

Step 6: Add Mulch
I dumped a huge bucket of free mulch from my neighbor’s ChipDrop and leveled it out with my hands and the shovel.
Here’s my new spot ready for a native pocket garden:

If you’re thinking, “okay… I could do this, but I want to make sure I do it right” -that’s where a plan makes all the difference.
👉 I offer 1:1 native garden consultations to help you map out your yard and next steps: https://thesanitygarden.com/native-garden-consult/
You Don’t Have to Do It All at Once
I will probably expand this area over time because I want lots of plants to my front yard. But it doesn’t all have to happen at once!
This small expansion:
- felt manageable
- built momentum
- set me up for some planting soon
That’s the goal.
Don’t Stop At Mulch: Plant Your Garden
Whether you:
- started plants from seed earlier this year
- or plan to buy plugs from your local nursery
Your next step is to plant.
How to Plant Into Mulch
- Dig a small hole through the mulch
- Go down into the soil
- Plant directly into the ground
- Water your plants in
Simple.
Removing grass is step one – but knowing what to plant and where is where most people need help.
👉 If you want help choosing plants and designing your space, you can book a consult here: https://thesanitygarden.com/native-garden-consult/
What to Do With the Sod You Removed (Don’t Waste It!)
After all that hard work, you’re going to end up with a pile of sod chunks, and it feels very wrong to just throw them away.
Good news: you don’t have to.
Option 1: Patch Bare Spots in Your Yard
This is what I did!
Instead of tossing the sod, I used it to fill in some thin, patchy areas in my backyard. Think of it like free lawn repair.
How to Reuse Sod Successfully
- Lay the sod pieces grass-side up in bare spots
- Press them down firmly so the roots make contact with soil
- Water regularly for the first couple of weeks
It won’t look perfect right away, but it will knit itself back together over time.
Option 2: Flip It to Build Soil
If you don’t need lawn patches, you can also flip the sod upside down (grass-side down) and let it decompose.
This works well if you’re:
- Expanding another garden bed
- Building up soil in a low spot
- Starting a compost pile
Option 3: Share the Wealth
Got extra? Offer it to a neighbor. Free grass is surprisingly hard to come by when you need it.
This is the kind of practical, real-life guidance I share every week.
👉 Join my email list for simple native gardening tips you can actually follow through on: https://thesanitygarden.kit.com/1c592c09aa
Ready to Start Your Own Garden Bed?
You don’t need perfect conditions, expensive tools, or a full master plan to get started.
You just need a clear first step – and a willingness to get a little sweaty.
If you’ve been staring at your yard thinking “I want this to be something more” then this is your sign to start.
Want Help Figuring Out Your Next Step?
If you want:
- A clear plan for your yard
- Help choosing the right native plants
- Confidence that you’re doing this right
👉 Book an in-person 1:1 native garden consultation: https://thesanitygarden.com/native-garden-consult/
Serving clients within 15-20 miles of Ewing, NJ.

Not Ready for a Consult Yet?
Start simple.
👉 Grab my free guide to help you plan and prep your first native garden: https://thesanitygarden.kit.com/906e00ab8a
Happy Planting!
-Kristen 🍃